
Introduction
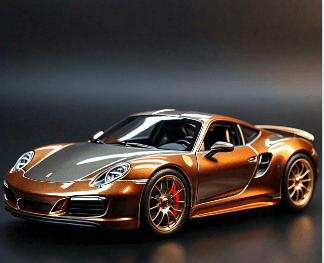
Creating a car scale model is an exciting and rewarding hobby that allows you to replicate your favorite vehicles in a smaller, detailed format. Scale modeling has a rich history in the automotive industry, where cars transition from sketches to prototypes, often starting with scale models. This guide will take you through the steps needed to build a car scale model, from initial measurements to finishing touches, helping you bring your model to life.
1. Understanding Scale Models
Scale models are replicas of real objects, created at a specific ratio to their actual size. These ratios, known as scales, determine how large the model will be in relation to the original. Choosing the right scale is crucial for ensuring that your model accurately represents the proportions of the vehicle. Common scales for car models include 1:24, 1:12, and 1:6, with 1:24 being a popular choice for beginners.
2. Vehicle Measurement
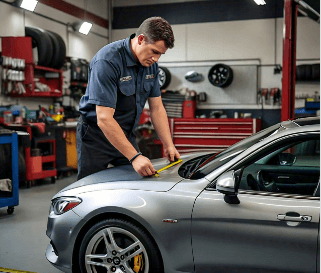
To begin your car scale model project, you must first gather precise measurements of the vehicle you wish to model. Here’s how to accurately measure your car:
- Length: Measure the distance from the rear lights to the front headlights.
- Height: Measure from the ground to the roof of the car.
- Width: Measure the width at the widest points, typically including the front and rear.
- Additional Measurements: Note down the dimensions of the bonnet (hood), trunk, roof, windows, and doors.
For example, if your car measures 10 feet in length and you’re working with a 1:24 scale, convert this measurement to scale by multiplying by 1/24. This would amount to approximately 5 inches for the model.
3. Preparing Your Materials
Once you’ve gathered your measurements and decided on a scale, you can begin preparing the materials needed for your model.
Materials:
- Clay or Modeling Material: Choose a sculpting material that is easy to mold and shape. Polymer clay or air-dry clay are popular options.
- Sculpting Tools: Gather tools such as a sculpting knife, rolling pins, and various blades to help shape and refine your model.
- Tape Measure and Ruler: For precise measurements.
- Smooth Surface: A clean workspace where you can easily manipulate and build your model.
4. Creating the Basic Shape
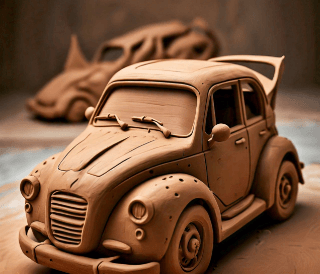
Start by forming a rough outline of the vehicle using clay. Don’t worry about intricate details at this stage; focus on capturing the overall shape of the car.
- Molding the Body: Use your hands and tools to shape the clay into a form that closely resembles the vehicle. Create rough impressions of features like the headlights and taillights.
- Defining Dimensions: Gently press the clay to mark the ground clearance, hood, and trunk outlines. For windows and doors, lightly scratch the outlines so you have a reference for later steps.
5. Detailing the Model
After establishing the basic shape, begin adding finer details to your car model.
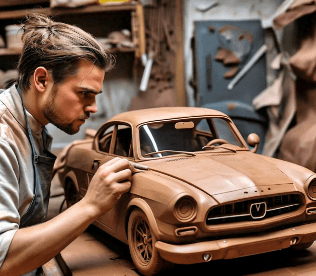
- Refine the Shape: Use sculpting tools to smooth out areas of the car and enhance curves. Pay attention to the contours of the body, ensuring they match the original design.
- Add Details: Mark the outlines of the windows and doors more distinctly using a sharp sculpting tool. Incorporate details such as the hood and trunk layers, the grill area, and fittings for the headlights.
6. Finalizing with Accessories
Now it’s time to make your model look authentic by adding additional accessories and finishing touches.
- Creating Accessories: Model small features like the hood, license plates, detailed tires, and mirrors. Extra clay can be used to shape individual parts that give your model character.
- Painting: Once the model is fully sculpted and dried (if applicable), consider painting the model to reflect its original color scheme. Use model paints suitable for your material for the best results.
7. Finishing Touches
After painting, allow the model to dry completely. Once dried, you can apply any decals or stickers to add branding or other details, ensuring the finest replication of the original vehicle.
- Sealant (Optional): Consider applying a clear sealant to protect the paint and enhance the finish of the model. This will help keep your creation looking pristine.
Conclusion
Creating a car scale model is a fulfilling project that blends creativity, precision, and patience. By following these steps—from initial measurements to final detailing—you can build a stunning replica that reflects your passion for automotive design. Remember to take your time at each stage, seek guidance from experienced modelers if needed, and enjoy the rewarding process of crafting your very own car scale model. Happy modeling!