
How to make a scale model?Make a Scale Model
Introduction
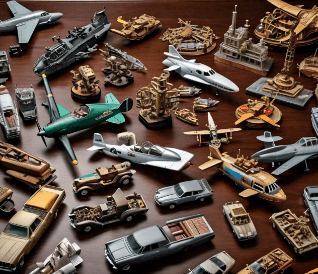
Creating a scale model can be an incredibly rewarding endeavor, allowing you to replicate an object while preserving its proportions. Scale models are a fantastic way to exercise creativity, improve craftsmanship, and gain a deeper understanding of the original object. This guide will walk you through the process of making a scale model, from initial measurements and planning to construction and finishing touches.
1. Understanding Scale Models
Scale models are representations of real-world objects made to a specific scale. This means that every dimension of the model—length, width, and height—reflects a proportional reduction from the actual size. To create a successful scale model, careful planning, mathematical calculations, and creative design work are necessary. A well-crafted model accurately embodies the source object’s features, serving as a faithful representation.
2. What You’ll Need
Before you begin, gather your materials and tools to ensure a smooth modeling experience:
- Tape Measure: For measuring dimensions accurately.
- Pencil and Paper: To sketch plans and take notes.
- Calculator (Optional): For performing scale calculations.
- Building Material: Choose materials such as plastic, wood, or cardboard based on your comfort and the final model’s requirements.
- Ruler: For precise measurements and straight lines.
- Craft Knife: To cut out model pieces accurately.
- Paints: For adding color and finishing touches to your model.
- Glue: To assemble the parts of your model.
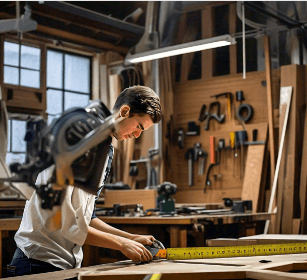
3. Measuring the Original Object
Start by measuring the dimensions of the object you want to replicate. This information is critical for creating an accurate scale model. You can achieve this by:
- Using a Tape Measure: If the object is physically accessible, measure its length, width, and height directly.
- Finding Online Dimensions: For cars, buildings, or other objects, many specifications and measurements are often available online.
Record these dimensions clearly, noting any features you might want to emphasize in the model, such as the hood, tires, or roof of a car.
4. Calculating the Scale
To create your scale model, you need to determine your desired scale. A common scale for model cars might be 1:30, meaning the model will be 1/30th the size of the actual object.
To calculate the corresponding dimensions for your scale model:
- Divide the Original Measurements: Take each measurement of the original object and divide it by your scale factor. For instance, if the original car is 15 feet long, to make a 1:30 scale model, you would calculate: [ \text{Model Length} = \frac{15 \text{ feet}}{30} = 0.5 \text{ feet} \text{ (or 6 inches)} ]
- Repeat for All Measurements: If you are modeling the roof height or width, ensure you perform the same calculation for each dimension.

5. Creating a Detailed Plan
With your measurements and scale calculated, the next step is to draft a detailed plan for your model:
- Sketch the Model: Draw a blueprint-style sketch of your model, including all components. Accurately note the dimensions and relationships between different parts.
- Use your Ruler: Ensure all measurements are correct, providing clear visual guidance for the construction process. This step will help you visualize each part and how they will fit together, aiding in construction and assembly.

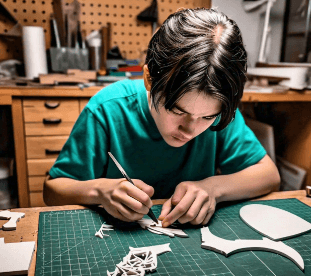
6. Cutting Out Model Pieces
Once your plans are ready, you can start cutting out the pieces from your chosen building material:
- Use a Craft Knife: Carefully cut out each piece according to your plan, using a ruler to guide straight cuts.
- Check Sizing Regularly: As you cut, frequently measure to ensure that the pieces correspond to the planned dimensions.
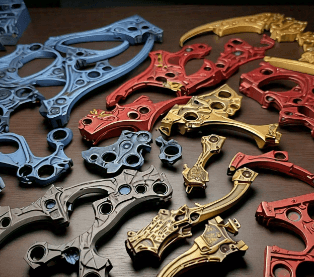
7. Painting and Detailing
Now it’s time to bring your model to life by painting:
- Choose Appropriate Colors: Select colors that reflect those of the original object. Use multiple layers for even coverage, allowing each coat to dry before applying the next.
- Consider Weathering: For added realism, consider age or wear effects using weathering techniques to give your model a more authentic look.
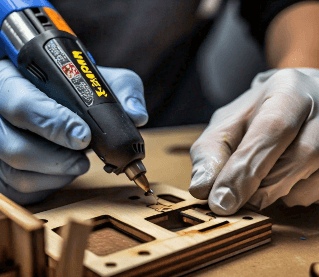
8. Assembling the Model
With all your pieces ready and painted, it’s time to assemble:
- Align the Pieces: Refer back to your drawing, ensuring each part of the model aligns as intended.
- Apply Glue: Use a high-quality adhesive to attach the parts. Apply glue carefully to avoid excess that can mar the model’s appearance.
- Allow to Dry: Let the assembled model sit for several hours to ensure the adhesive dries completely and the pieces hold firmly together.
Conclusion
Creating a scale model is a meticulous but fulfilling craft that combines skill, knowledge, and creativity. By adhering to careful measurements, detailed planning, and precise assembly, you